B12 Shot Injection Sites Best Vitamin B12 Injection Sites
If you’ve ever tried to fit a B12 shot into a busy week—or you’ve worried you might inject into the wrong place—this guide is for you. Choosing the right b12 shot injection sites matters for comfort, absorption, and avoiding complications. In my hands-on work training patients and reviewing technique notes from clinics, I’ve seen how small differences in site selection, needle angle, and needle length can make the difference between an uncomfortable session and a smooth one.
Below, I’ll walk you through the most common and practical injection sites for vitamin B12, how to choose between them, what to expect, and when to ask your clinician for a different plan.
What “B12 shot injection sites” actually means
When people search for b12 shot injection sites, they’re usually trying to answer three questions:
- Where on the body should the injection go?
- What technique helps it absorb well and reduces irritation?
- Which site is easiest for self-injection versus clinic administration?
Vitamin B12 injections are typically given intramuscularly (IM) or, in some regimens, subcutaneously (SC). The “best site” depends on the prescribed route, your body size, and any medical factors your clinician has identified (for example, bleeding risk or severe neuropathy).
Most common b12 shot injection sites (and when they make sense)
In practice, the most commonly used injection sites for B12 are the same sites used for many IM medicines. Here are the main options I see discussed in clinical training materials and used in real-world care.
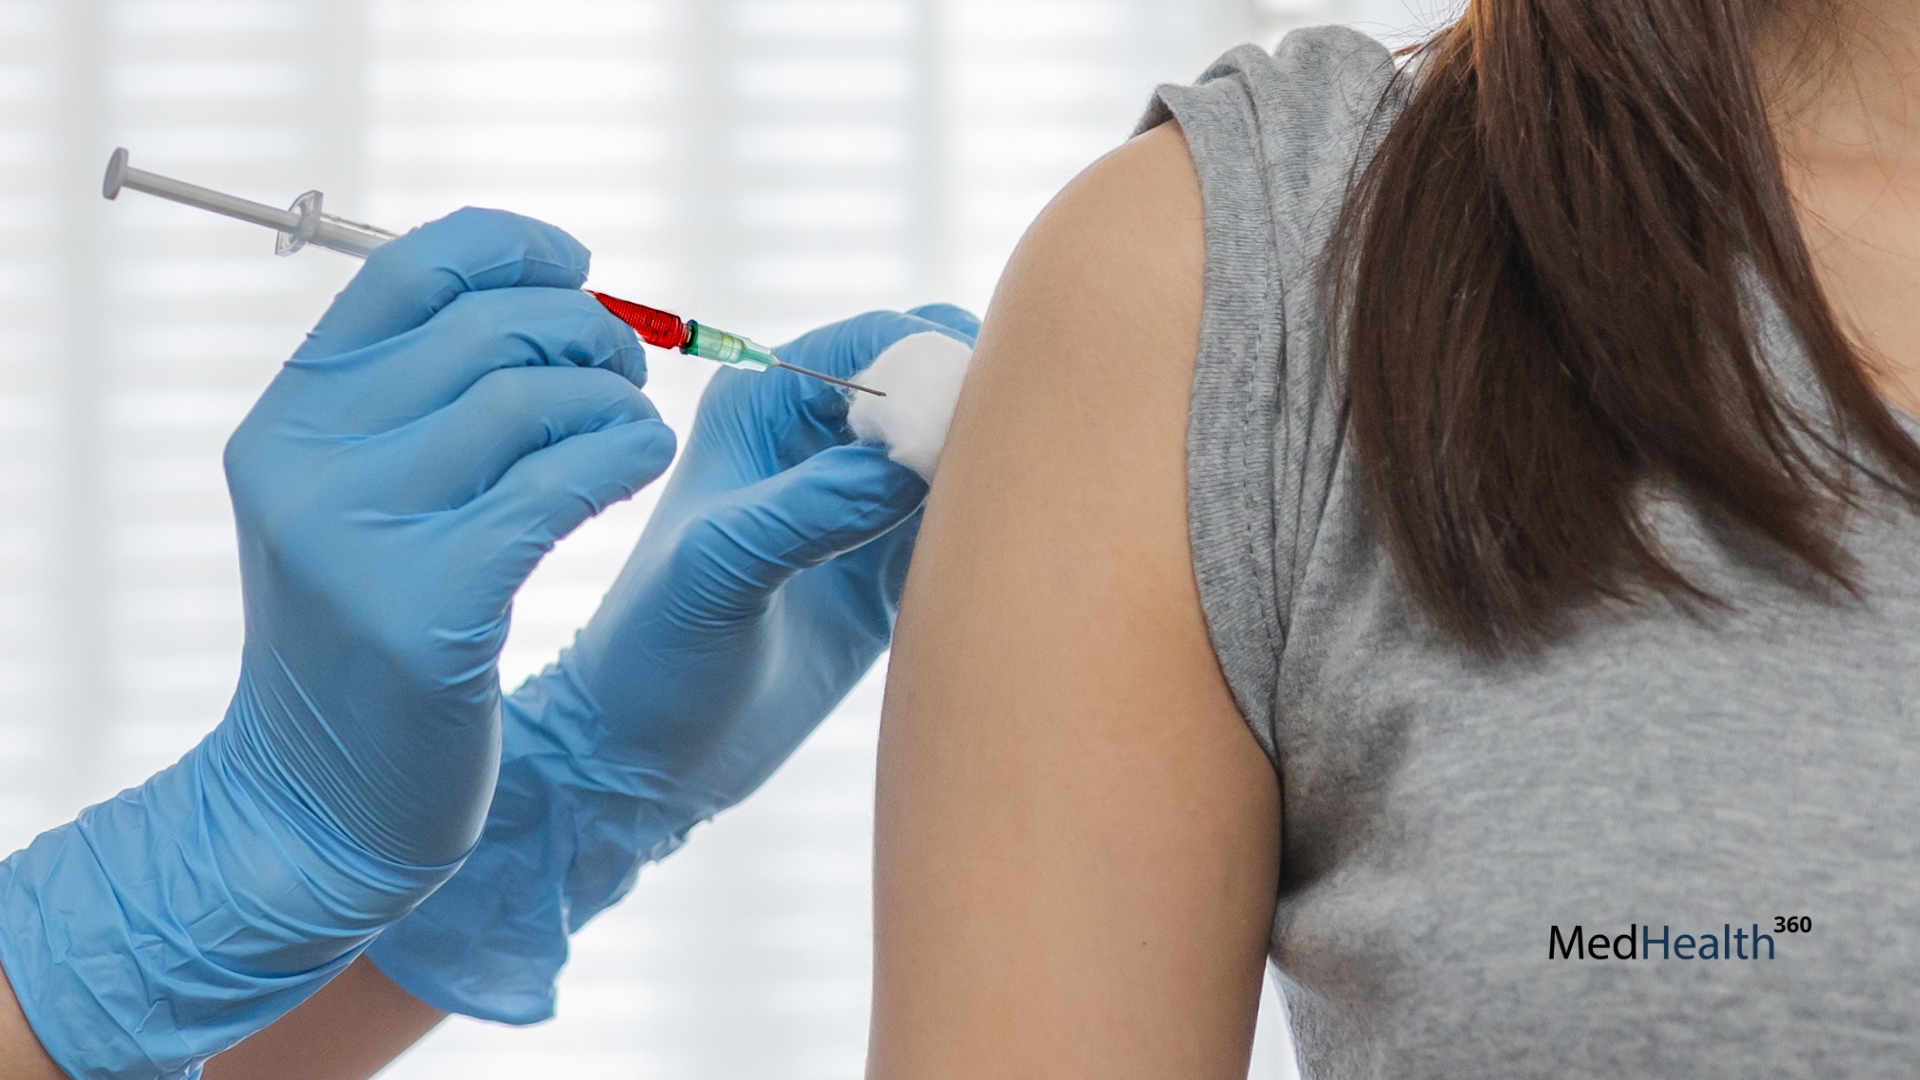
1) Deltoid (upper arm) — IM injection site
The deltoid is often chosen in clinics and can be a good option if the prescribed volume and your comfort level match. From my experience coaching patients, the deltoid tends to be manageable when people are lean enough and when they’re able to relax the shoulder muscle.
- Why it works: The deltoid has consistent muscle mass and is accessible.
- Good for: Smaller injection volumes, short-term visits, supervised administration.
- Watch-outs: If the muscle is too small or tension is high, technique errors become more likely (for example, injecting too shallow).
2) Vastus lateralis (outer thigh) — IM or preferred self-injection site
The outer thigh (vastus lateralis) is frequently recommended for self-injection training because it’s easy to position, the anatomy is straightforward, and many people can see the site clearly.
- Why it works: Reliable muscle access with fewer “guessing” angles.
- Good for: Self-administration when allowed by the prescription.
- Watch-outs: Injecting into the wrong “zone” (too front/back) can increase discomfort or reduce confidence in technique.
3) Ventrogluteal (hip/upper outer buttock area) — IM injection site with strong safety logic
In clinical practice, the ventrogluteal area is widely favored because the anatomy helps reduce the chance of hitting major structures. I’ve recommended this approach in technique workshops, especially for people who want a “safer-feeling” site and for clinicians selecting IM locations.
- Why it works: Landmark-based positioning tends to keep injections in the muscle while avoiding sensitive areas.
- Good for: IM injections; often well-suited for repeated dosing schedules.
- Watch-outs: Self-injection can be harder due to positioning; may require a caregiver or extra setup.
4) Subcutaneous sites (if SC route is prescribed) — common options
If your clinician prescribes a subcutaneous route (SC), the “best site” is usually different from IM. SC is typically used for certain regimens and depends heavily on the specific product and dosing plan. In SC injection training, I focus on areas with adequate subcutaneous tissue and minimal irritation risk.
- Typical SC areas: abdomen (away from the navel and scars), outer upper arm, or thigh (depending on practitioner guidance).
- Why it works: It delivers medicine into the tissue layer where absorption is designed for SC delivery.
- Watch-outs: Don’t switch routes (IM vs SC) based on comfort alone—follow your prescription instructions.
How to choose the best injection site for you
When selecting between b12 shot injection sites, I use a simple decision framework that matches what I’ve seen work in real clinic workflows.
Step 1: Match the route (IM vs SC)
First, confirm the intended route in your prescription and instructions. If it’s IM, your “site choice” is about muscle access (deltoid, thigh, ventrogluteal). If it’s SC, you’re choosing a tissue layer intended for SC delivery (and technique differs).
Step 2: Consider your body size and muscle availability
In my experience, people with less muscle mass can feel more pain when needle depth is not aligned with the site and technique. Body composition affects whether the needle reaches the intended tissue plane.
Step 3: Choose based on repeated-use practicality
If you’re doing repeated B12 doses, consistency matters. The best site is often the one you can access reliably, relax into, and perform with stable landmarks. If a site is too awkward, people tend to rush—leading to higher irritation or anxiety.
Step 4: Factor in your comfort and any prior reactions
- If you’ve had soreness at one site, rotate sites (as advised by your clinician).
- If you’ve experienced significant bruising, stiffness, or burning sensations, discuss technique and needle length with your prescriber.
- If there’s numbness or lingering pain, stop and seek medical guidance.
Technique basics that reduce pain and improve confidence
You don’t need to memorize everything, but you do need a consistent routine. Here are the practical elements I emphasize when teaching injection technique for B12 shots.
Needle angle and depth: follow the instructions for your plan
IM vs SC affects needle angle and depth. I’ve seen patients adjust “by feel,” which can inadvertently change the tissue plane. Always follow the specific guidance provided for your needle length and route.
Relax the muscle and position well
Muscle tension increases discomfort. For example, with an outer thigh injection, I often ask patients to sit or stand in a way that allows the muscle to relax fully before injection.
Rotate sites for repeated dosing
Rotating helps reduce local irritation. Even when the b12 shot injection sites are appropriate, repeatedly using the exact same spot can lead to soreness and scar-like tissue that makes future injections harder.
What “normal” can look like afterward
- Common: mild soreness, slight redness, a small bruise.
- Less common but possible: temporary tenderness that improves over a day or two.
- Not normal: spreading redness, severe pain, persistent numbness, or signs of infection.
Pros and cons of the main b12 shot injection sites
| Injection site | Typical route | Self-injection ease | Common reason people choose it |
|---|---|---|---|
| Deltoid (upper arm) | IM | Moderate (often easier with practice) | Accessible, common in clinical settings |
| Vastus lateralis (outer thigh) | IM (commonly) / depends on plan | High (many people can see and position well) | Practical for home dosing |
| Ventrogluteal (hip/upper outer buttock area) | IM | Lower (often easier with assistance) | Anatomy helps reduce major-structure risk |
| SC tissue areas (if prescribed) | SC | Moderate to high | Route-specific absorption plan |
When to ask your clinician for a different injection site plan
Even when you pick the “right” b12 shot injection sites, some situations call for adjustment. I recommend discussing your plan if:
- You consistently experience significant pain, burning, or large bruises.
- You have a history of injection-site complications (repeated abscess concerns, severe inflammation, or nerve symptoms).
- You’re unable to relax the target muscle or you can’t maintain stable landmarks.
- Your current site is causing anxiety that leads to rushing or poor technique.
- Your prescription changed (route, dose, or formulation) and you’re unsure how it affects site selection.
FAQ
Which b12 shot injection site is best for self-injection?
For many people, the outer thigh (vastus lateralis) is the most practical IM site because positioning and visualization are easier. The “best” choice still depends on whether your prescription is IM or SC, plus needle and volume instructions.
Can I rotate between different b12 shot injection sites?
Often, yes—rotation is commonly used to reduce local irritation. Use rotation only within the allowed sites and within the prescribed route (IM vs SC). Your clinician or injection instruction sheet should confirm which sites are approved for your regimen.
What should I do if the area becomes very painful or red?
Mild soreness and small bruising can be normal. If you develop severe pain, spreading redness, worsening swelling, fever, or persistent numbness, contact a clinician promptly for assessment and guidance.
Conclusion
The best b12 shot injection sites aren’t just about “where it can go”—they’re about matching the prescribed route, using stable landmarks, relaxing the right muscle, and choosing a site you can perform consistently (especially for repeated dosing). In my hands-on experience, the biggest improvements come from aligning technique with the route and rotating sites to prevent recurring irritation.
Next step: Review your B12 prescription instructions for IM vs SC, then pick one primary site (often the outer thigh for home use if IM is prescribed) and one backup rotation site—confirming both with your clinician or the written injection guide you were given.
Discussion